Build a Blog with NextJs
If you've been thinking about creating a dev blog for yourself, take a look how I made it for myself.
What is Nextjs? 🤔
NextJS is a the React framework for production. Next.js gives you the best developer experience with all the features you need for production: hybrid static & server rendering, TypeScript support, smart bundling, route pre-fetching, and more. No config needed.
Contents 🔥
Create new project
To create a project, run:
npx create-next-app
# or
yarn create next-app
# then inside project directory
npm run dev
Then you will get
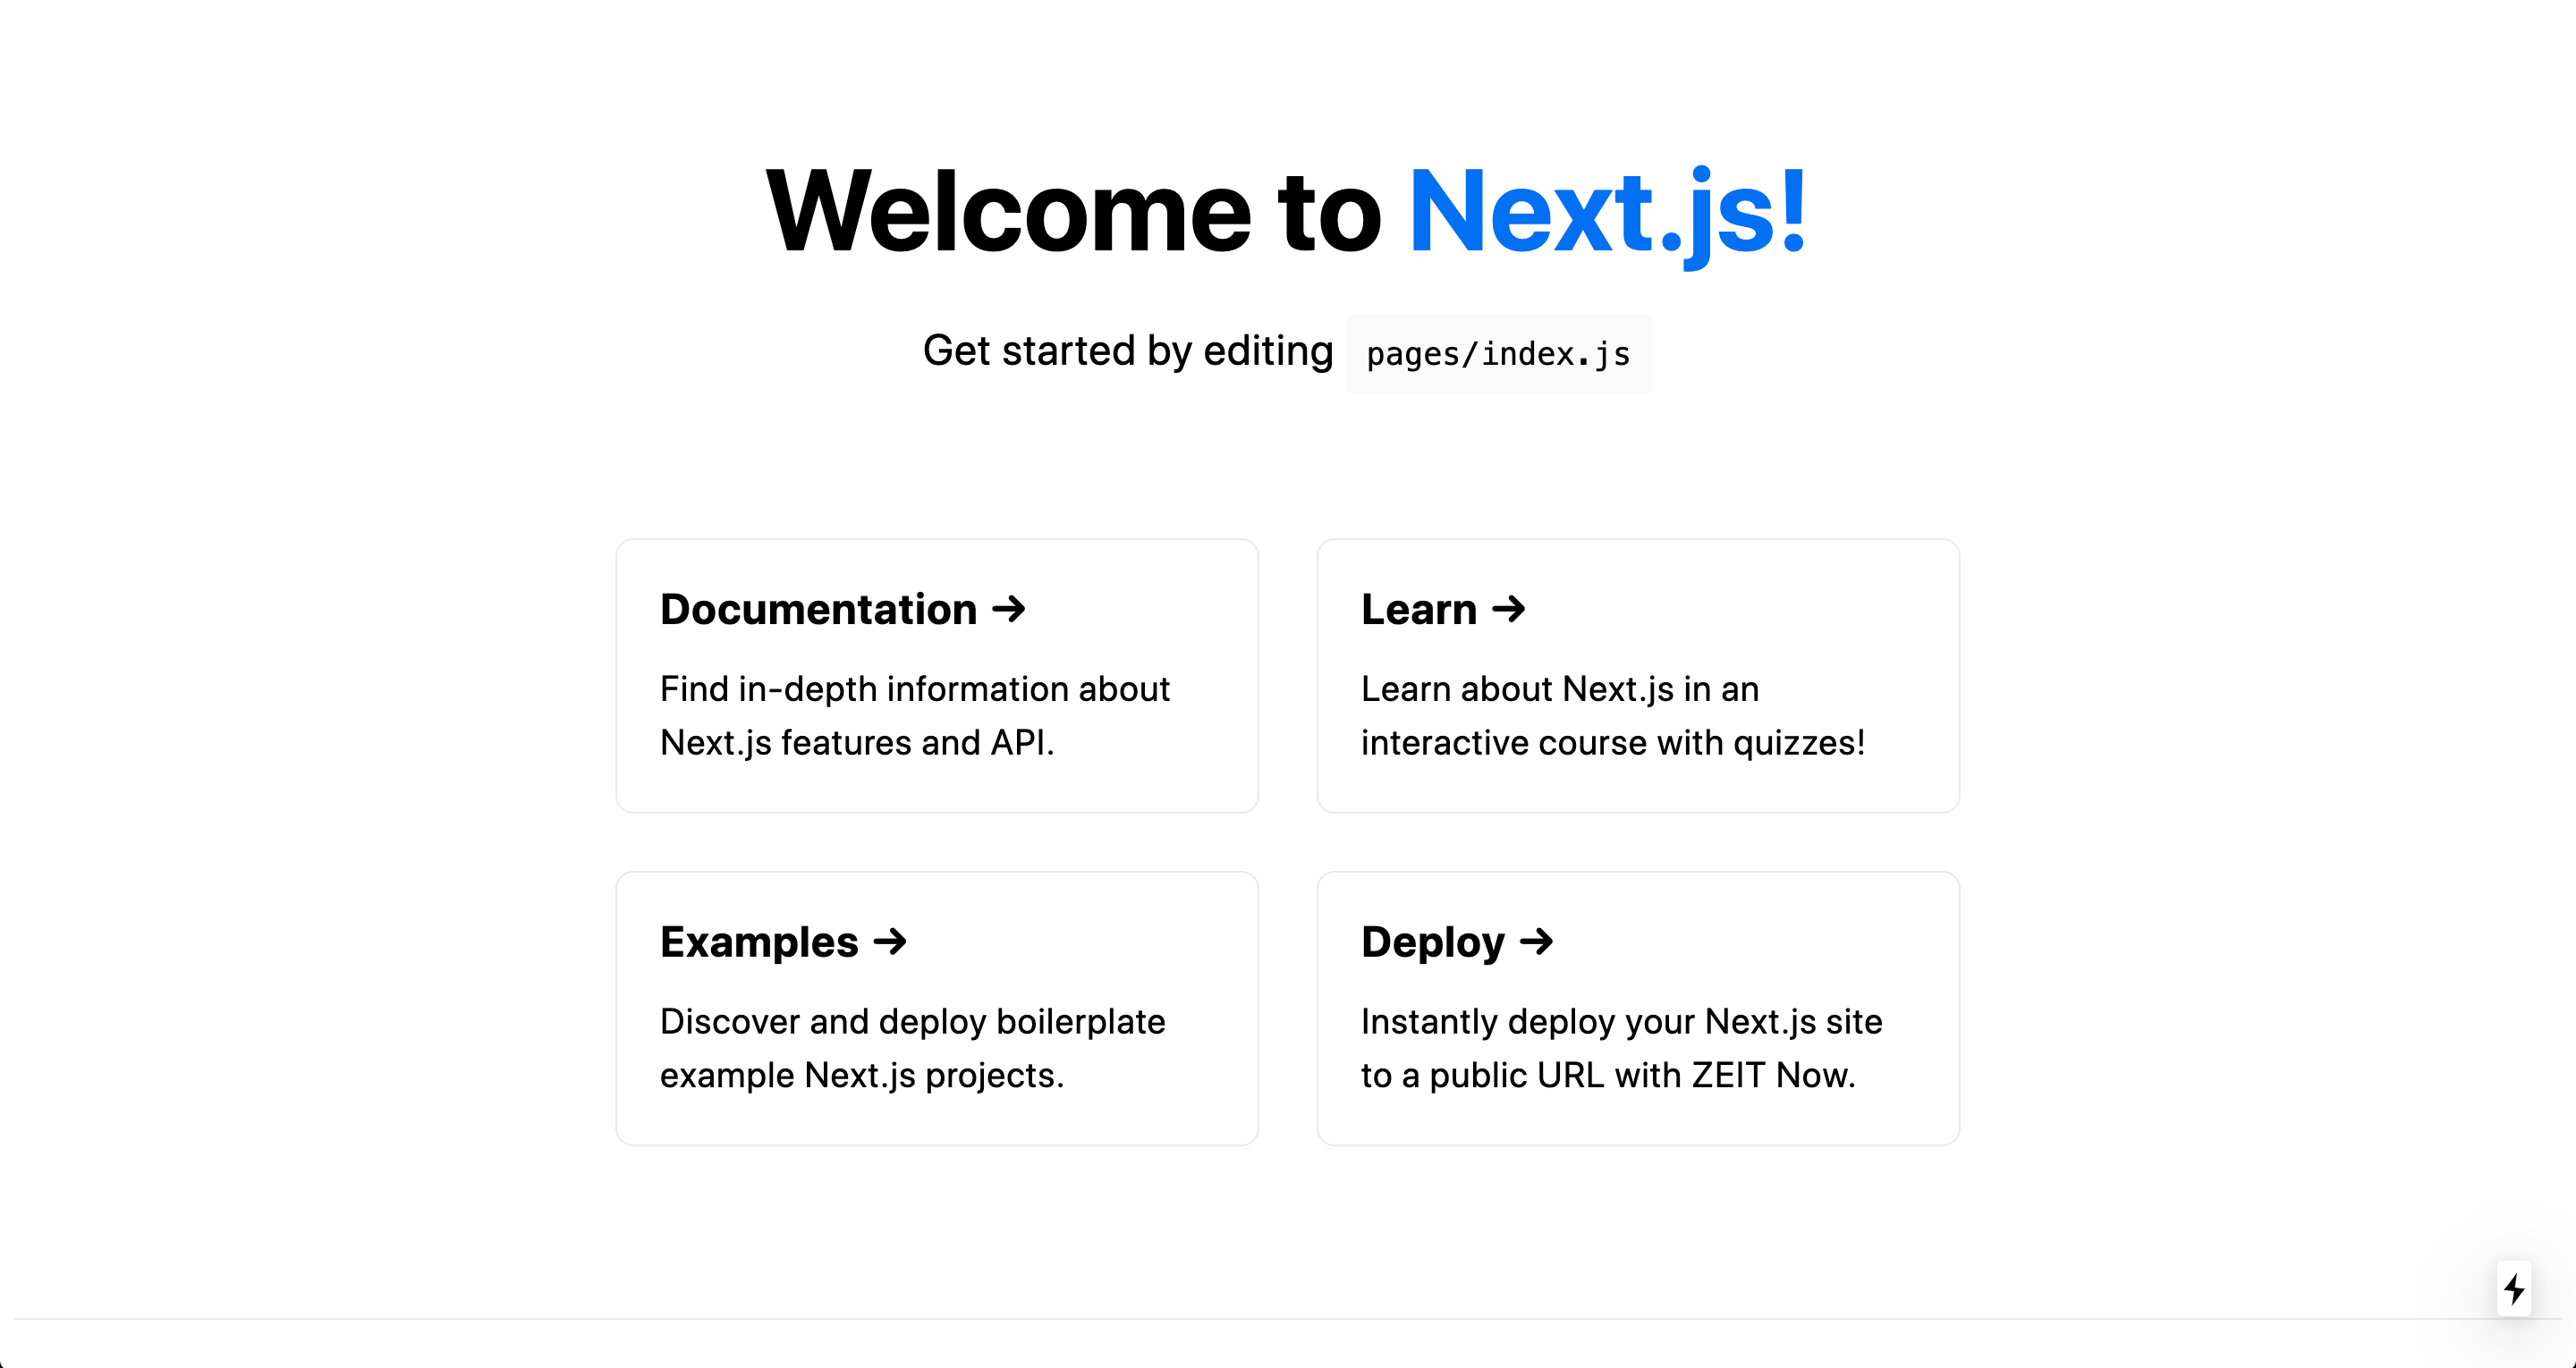
at localhost:3000/.
Remove all the unwanted elements from the code and save the file. Next we will see how to figure out responsiveness of our website.
Responsiveness
I don't like writing CSS much. So, I started looking for some other ways to make my website responsive. So inside the hook folder, I made a hook named useMediaQuery.js. Then inside useMediaQuery.js,
import { useState, useCallback, useEffect } from "react";

const useMediaQuery = (width) => {
  const [targetReached, setTargetReached] = useState(false);

  const updateTarget = useCallback((e) => {
    if (e.matches) {
      setTargetReached(true);
    } else {
      setTargetReached(false);
    }
  }, []);

  useEffect(() => {
    const media = window.matchMedia(`(max-width: ${width}px)`);
    media.addEventListener("change", (e) => updateTarget(e));

    if (media.matches) {
      setTargetReached(true);
    }

    return () => media.removeEventListener(
      "change",
      (e) => updateTarget(e)
      );
    }, []);

  return targetReached;
};

export default useMediaQuery;
So whenever I want to make any component responsive I use the following method -
import React from "react";
import useMediaQuery from "../hooks/useMediaQuery";

const Component = () => {
  const breakpoint = 991;
  const size = useMediaQuery(breakpoint);
  const Desktop = ({ children }) => {
    const isDesktop = !size;
    return isDesktop ? children : null;
  };
  const NotDesktop = ({ children }) => {
    const isNotDesktop = size;
    return isNotDesktop ? children : null;
  };

  return (
    <Desktop>
      # Only visible on desktop screen
    </Desktop>
    <NotDesktop>
      # Visible only on tablet and mobile devices screen
    </NotDesktop>
  )
}

export default Component;
Navbar helps us to navigate different sections of websites easily.
So to make our navbar component available on every page of our website, we have to make the following changes in the code of our _app.js site -
import Navbar from "../components/navbar.js"
# import your navbar component
# keep rest of the code as it was.

const MyApp = ({ Component, pageProps }) => {
  return (
    <div>
      <Navbar />              #Add your navbar component here
      <Component {...pageProps} />
    </div>
  )
}

export default MyApp;
Page Routes
I wanted my blog to be on a different page of the website. You can also make your about, contact, and project section on different pages of your website. For this, you just have to add components inside the pages folder, every component of the pages folder works as a route. For example -
pages
  |- index.js       #url = "/"
  |- about.js       #url = "/about"
  |- blog
      |- index.js   #url = "/blog"
  |- contact.js     #url = "/contact"
Blog Setup
Now, I want to add static blog posts to my portfolio. I started with how a blog post should start. So inside component/postDetail/postHeader.js file -
function PostHeader(props) {
  const { title } = props;
  return (
    <header>
      <h1>{title}</h1>
    </header>
  );
}

export default PostHeader;
I will pass the title as a prop from its parent component and it will show it as a heading in every blog post.
Then, for the rest of the blog post's content, I have to render markdown code to static Html. I used the following packages for this work -
npm i react-markdown
npm i rehype-raw
Then, inside component/postDetail/postContent.js file -
import ReactMarkdown from "react-markdown";
import rehypeRaw from "rehype-raw";
import PostHeader from "./postHeader";

const PostContent = (props) => {
  const { post } = props;
  return (
    <article>
      <PostHeader title={post.title} />
      <ReactMarkdown rehypePlugins={[rehypeRaw]}>
        {post.content}
      </ReactMarkdown>
    </article>
  )
}

export default PostContent;
I will pass the post as a prop to the PostContent from its parent component and display post content using it. Wrapped the markdown content of post inside ReactMarkdown component and used rehpye plugin in it. This plugin will help us to recognize html inside markdown files and will help us to give id tags to headings in markdown.
With all the code above we can show individual posts, but we also want all of our posts inside the blog section of our website with their title and some description, and the creation date. For this, inside component/blogCard.js file -
import React from 'react';
import Link from 'next/link';

const BlogCard = (props) => {
  const { title, excerpt, date, slug } = props.post;
  const formattedDate = new Date(date).toLocaleDateString(
    "en-us",
    {
      day: "numeric",
      month: "long",
      year: "numeric",
    }
  );
  return (
    <Link href={`/blog/${slug}`}>
      <a>
        <h2>{title}</h2>
        <div>{formattedDate}</div>
        <div>{excerpt}</div>
      </a>
    </Link>
  )
}

export default BlogCard;
Then we have to show this card on the blog page of our website and individually for every post. So inside blog/index.js -
import BlogCard from "../../components/blogCard";
import {getAllPosts} from "../../lib/postUtils";

const Blog = (props) => {
  const {posts} = props;
  return(
    <h1>Blog</h1>
    <div>{posts.map((post) => {
        return <BlogCard key={post.slug} post={post} />
      })}
    </div>
  )
}

export function getStaticProps() {
  const allPosts = getAllPosts();
  return {
    props: {
      posts: featuredPosts,
    },
  };
}

export default Blog;
And inside lib/postUtils.js -
import fs from "fs";
import path from "path";

import matter from "gray-matter";

const postsDirectory = path.join(process.cwd(), "posts");

export function getPostsFiles() {
  return fs.readdirSync(postsDirectory);
}

export function getPostData(postIdentifier) {
  const postSlug = postIdentifier.replace(/\.md$/, ""); // removes the file extension
  const filePath = path.join(postsDirectory, `${postSlug}.md`);
  const fileContent = fs.readFileSync(filePath, "utf-8");
  const { data, content } = matter(fileContent);

  const postData = {
    slug: postSlug,
    ...data,
    content,
  };

  return postData;
}

export function getAllPosts() {
  const postFiles = getPostsFiles();

  const allPosts = postFiles.map((postFile) => {
    return getPostData(postFile);
  });

  const sortedPosts = allPosts.sort((postA, postB) =>
    postA.date > postB.date ? -1 : 1
  );

  return sortedPosts;
}
Now we can start writing our blogpost in markdown inside posts/ folder. The filename you give to your post markdown file is considered as its slug which will be visible in the post's route. Always keep in mind to give title, date, and excerpt in the following format -
---
title: 'First Post'
date: '2021-06-07'
excerpt: This is my first blog post.
---
# Start writing your post content from here
Markdown
Click here to learn some basic syntax of markdown.
Blog Styling
You can check in the above code that I nested the blog post's content inside <article> tag. This tag will help us in styling our blog posts.
Inside styles/globals.css, if we assign some css properties to the tag present inside the article tag, it will directly reflect our blog posts.
For example -
article i {
  font-family: "Sriracha", cursive;
  color: #ff0a78;
}
The above property will be reflected in i tag.
Animation
I also added some small animations on my website using Framer Motion.